



New coupon template#
The first step after activating a plugin is creating a new coupon template which will be used during the process of generating coupons. You will use a convenient editor that is built-in in the plugin.
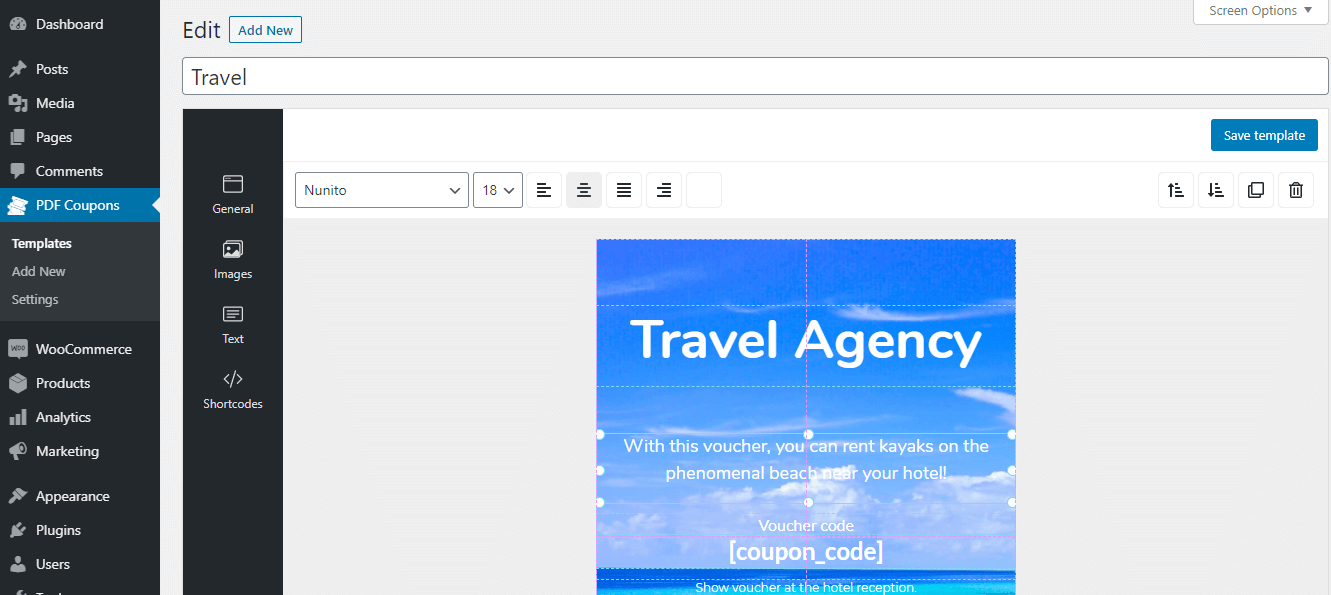
After installing the plugin, you will see in your WordPress dashboard menu a new PDF Coupons tab. Click on it and then choose the Add new option.
General#
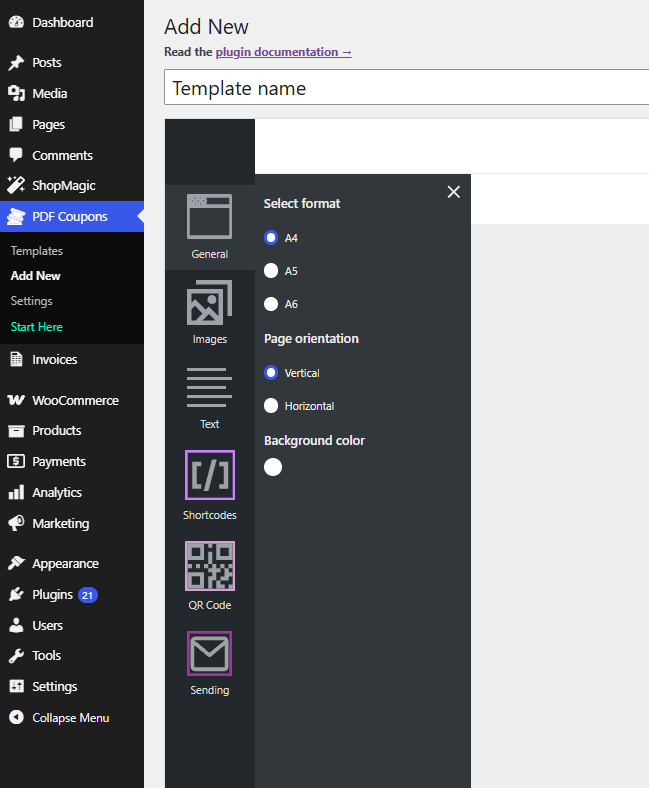
Select format - select the print size of the PDF coupon. Options:
- A4
- A5
- A6
Page orientation - Choose whether the coupon printout should be horizontal or vertical.
Background color - select a coupon background color.
Images#
In this tab, you can select which images you want to use when creating a coupon. The plugin uses the WordPress media library. To add images to your template, click Select images, then select images from the media library, and click Select. Finally, click on the image itself to add it to your workspace.
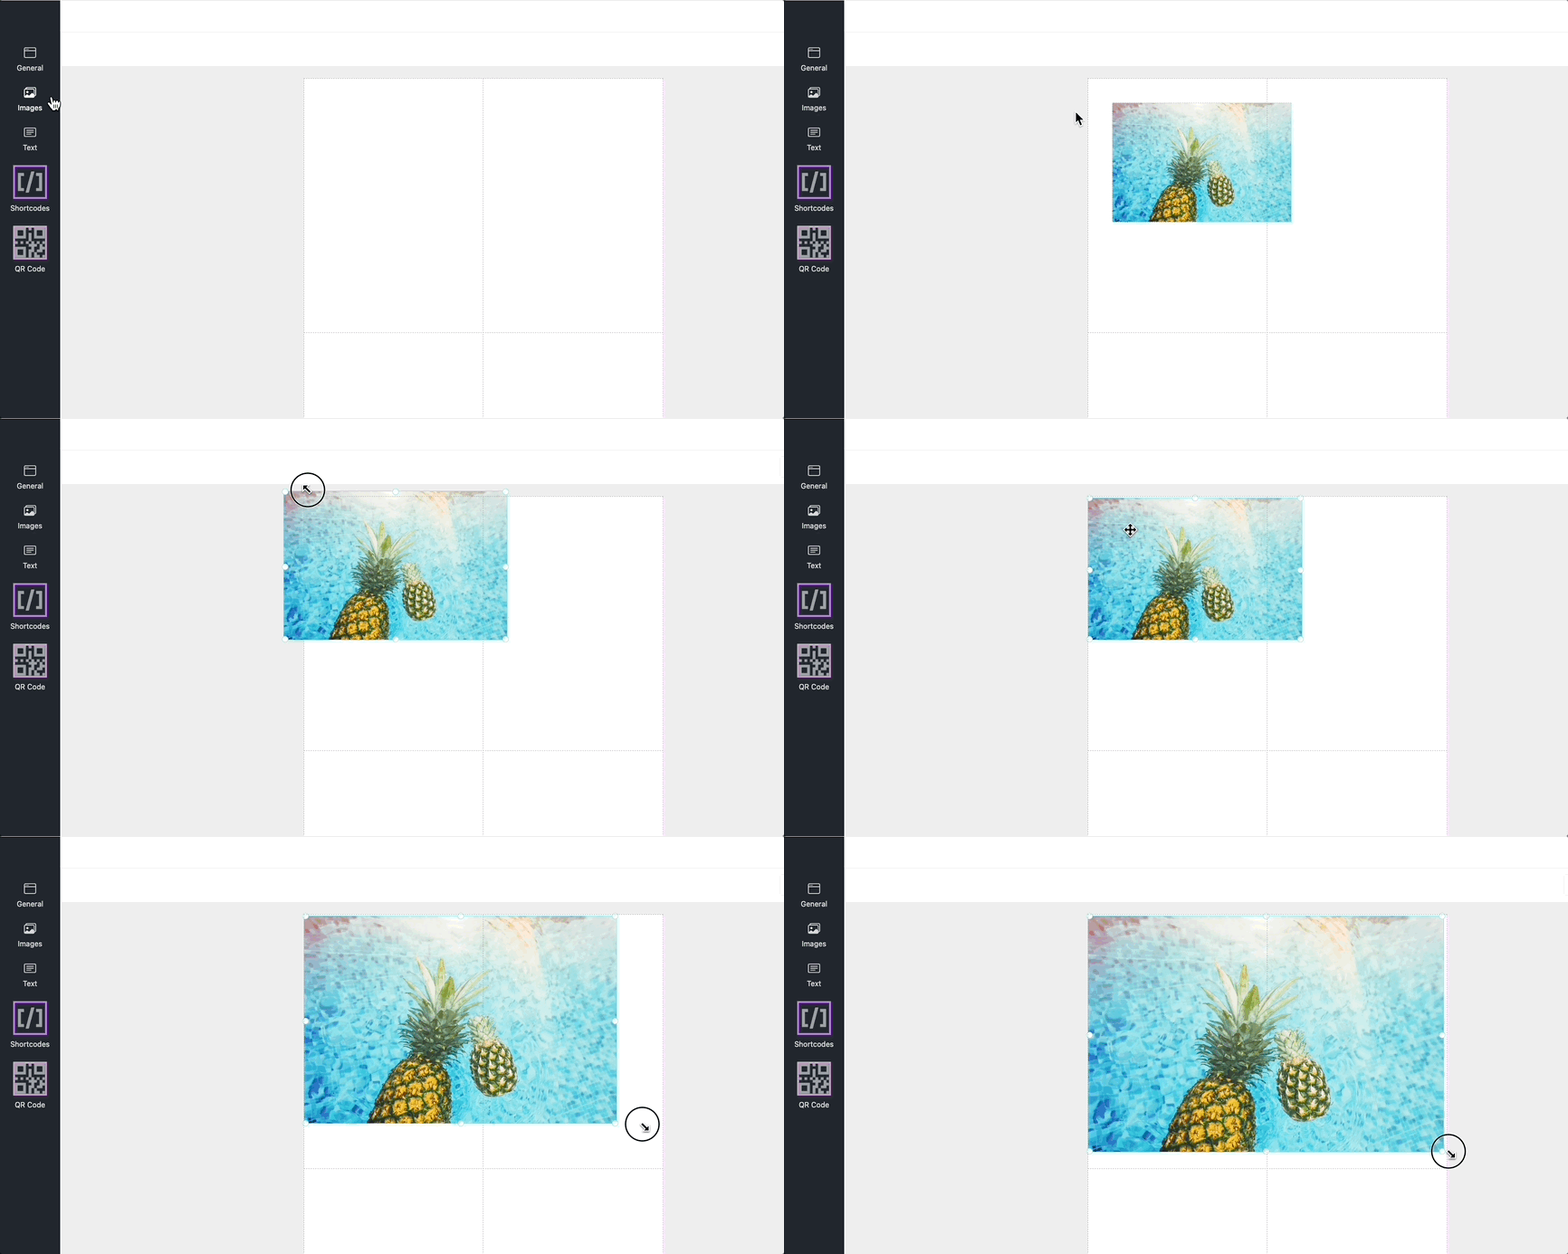
You can move images around the working area using the drag&drop method. Also you can rotate images around their own axis. The size of an image can be changed with one constraint - image magnification is possible up to the original resolution of the image.
Text#
The plugin supports various fonts for customizing your coupon templates.
Here you will find three defined text headers that you can add to your workspace where you may edit them further.
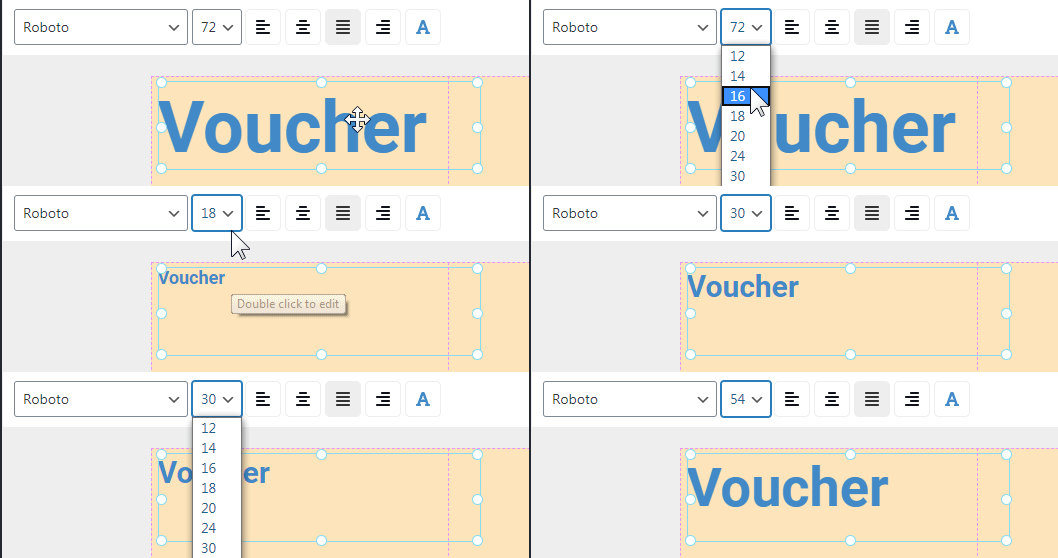
In the current version of the plugin, you can edit:
- Font
- Font size
- Font color
- Font decoration (bold, italic)
- Text alignment (left, right, center, and justify)
Shortcodes#
The plugin supports a series of shortcodes, which allow you to place the value of the fields - when placing an order - directly to the coupon in PDF format.
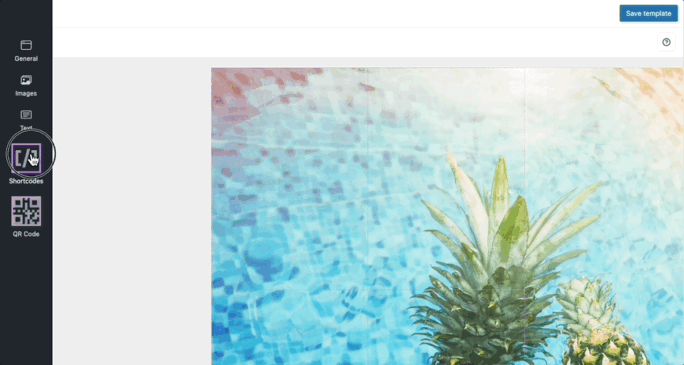
Below you will find a list of all shortcodes:
- [coupon_value] - this is the value of the coupon which is also the price of the product - coupon,
- [coupon_code] - coupon code is a value generated automatically when creating an order with a product - coupon,
- PRO [coupon_expiry_date] - coupon expiry date,
- PRO [customer_address] - the payment address of the customer filled up when placing an order,
- PRO [customer_name] - buyer's name, filled-in at the checkout,
- PRO [product_name] - product-coupon name,
- PRO [recipient_message] - a message from a buyer to a coupon recipient. More about this option you will find in the section about adding a new product,
- PRO [recipient_email] - email address of the coupon recipient,
- PRO [recipient_name] - the name of the coupon recipient,
- PRO [siteurl] - address of your website.
QR code#
The QR Code tab is used to add a QR code element to the coupon template.
To use this option, you need the Event Ticket QR Scanner add-on. When the add-on is active, the tab displays an available QR code item. Click it to place the QR code on the template workspace. After adding it, you can move, resize, and position it like other visual elements in the editor.
The QR code uses the `[qr_coupon_code]` value, so the generated PDF coupon can include a QR code connected with the coupon code.
If the Event Ticket QR Scanner add-on is not active, the tab only displays information about the add-on and a link to learn more or purchase it. The QR code element will not be available until the add-on is active.
Sending#
The Sending tab lets you quickly access the email sending settings for coupon templates.
This tab is connected with the Advanced Sending add-on. If the add-on is active, the tab displays a link to the email sending settings, where you can configure coupon email options and manage how coupons are sent to recipients.
If the Advanced Sending add-on is not active, the tab shows information about the add-on and a link to learn more or purchase it. Advanced Sending lets you send coupons by email and schedule gift card delivery.
The Sending tab does not add visual elements to the PDF coupon template. Use it as a shortcut to configure how the coupon email is sent. The visual content of the PDF coupon is still configured with the General, Images, Text, Shortcodes, and QR Code tabs.